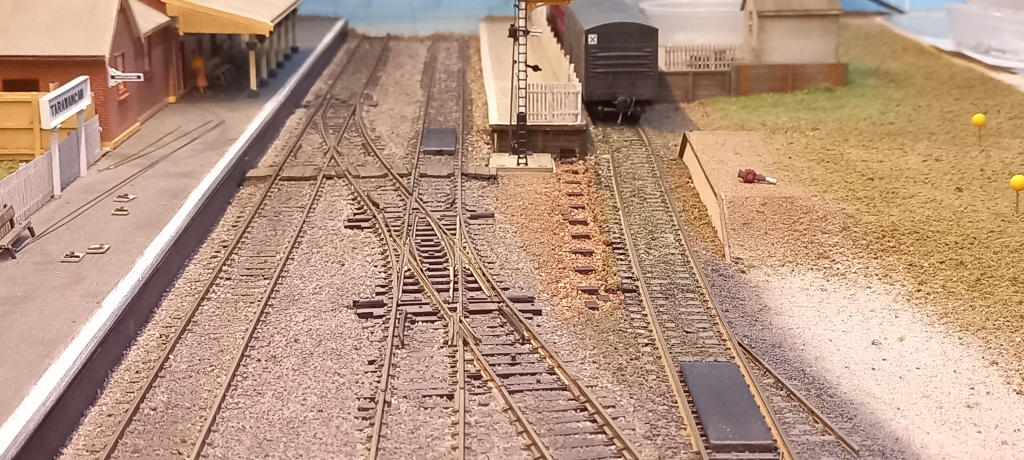
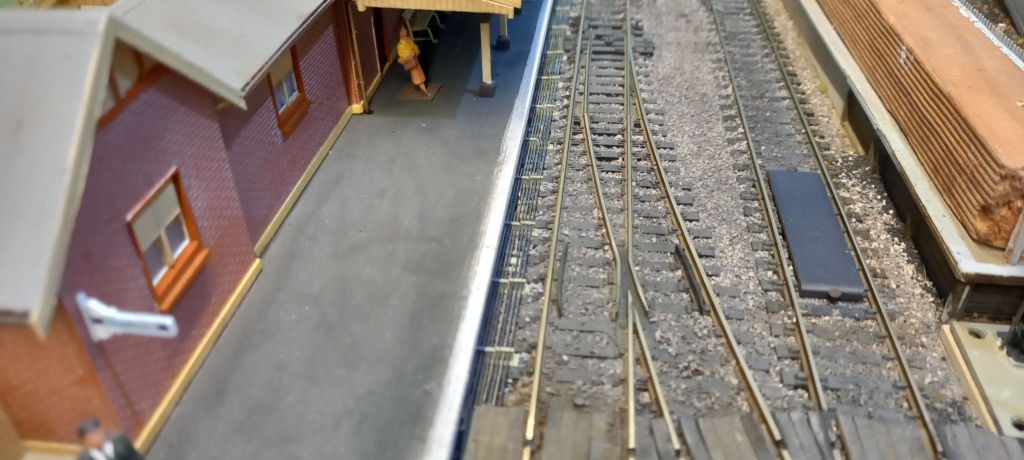
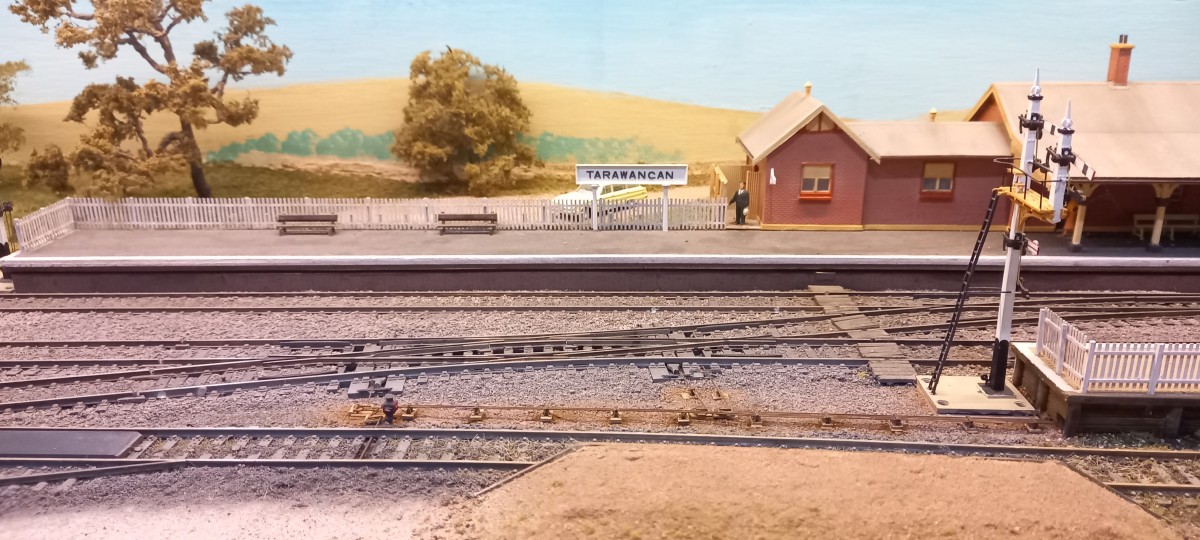
I have begun installing point rodding and associated infrastructure at Tarawangan. I’m not sure that there is an ideal time during a layout’s development for undertaking this task. If it’s done relatively early there is the risk of damaging the rodding and fittings as other work progresses. There is also the risk early on, as trains are run, that changes to the track arrangement become necessary. That was certainly the case at Tarawangan which had three significant track adjustments in the first year or so. Let’s also be honest: it is both a daunting and a tedious task.
I decided early on that I would add rodding after completing the majority of the scenic work. However, this approach is not without drawbacks; the greatest of which is having to disturb existing scenery in order to position particular details. Sometimes, drilling a small hole is all that is required. At other times, scenic material may need to be removed. This can be relatively minor, such as setting point rodding chairs, compensators, cranks, etc in place; or more extreme, such as cutting a hole into the baseboard to locate a signal. The risk, then, is of damaging the scenic shell more widely. There is also the issue of matching new work with existing scenery.
Some time ago, I added a lever frame and rodding in the Tarawangan yard. For this, I used components from the Anton’s Trains range. Sadly, with just single and double roller chairs available, that range is limited to yard settings.

The track arrangement elsewhere at Tarawangan requires rodding runs of up to eight chairs across. Fortunately, Andian Models 3D-printed sets of 1, 2, 3 and 4 chairs. They are very fine representations too. Being resin, they can be easily adjusted to make chair sets of greater numbers – in my case, up to 8 wide. In the absence of alternatives, but also for consistency, Anton’s cranks and compensators are used. To get a feel for working with the Andian chairs and rodding, I began with a short run of 4-chair and 2-chair sets for the double slip on the down main and the loading dock catchpoint and indicator. I couldn’t get good reach and sight along the rail-side of the down platform to set chairs there and thread the rodding (another disadvantage of adding rodding later than earlier), so the fiction is that the platform signal box is beyond the footbridge (ie off-scene) and the shortest, straightest run is under the down platform and out beside the bracket signal.


In hindsight, I should have reversed the rodding order so that the cranks were under the rodding more. If nothing else, the final result would have appeared neater. That said, the overall result is visually satisfactory. Working each rod through each roller chair is tedious but is eased by running a no 77 drill through each hole before fixing the chairs in place.


So, in for a penny, in for a pound! Work has begun on the mainline run.


More to follow.

